Need a plan to open a restaurant in only 90 days? I’m here to help. Unlike other information you may have found about the topic online, I actively own a restaurant / food truck business. I’ve opened restaurants before and understand the challenges remodeling a building, the stress gathering funds, and the seemly endless number of decisions you need to make along the way before you ever get to take an order. In other words, I’ve actually done the thing I’m writing about.
My advice opening a restaurant fast will make the entire process easier for you in this handy checklist whether you need to open in 90 days or have a bit of wiggle room in the timeline (recommended). Part of managing large, sometimes overwhelming projects means breaking the big issues into smaller, easy-to-digest portions that you can tackle a little at a time. I’ve put together a timeline for the 90 days leading up to your restaurant opening, and arranged many of your opening tasks along a schedule to help you understand what you should be doing, when.
Of course, some of the things we outline may or may not apply to your opening schedule, and you may have needs that stretch beyond the scope of this post. But we hope this rough outline will help you plan the last twelve weeks leading up to the big day, to ensure as smooth and painless an opening as possible. Ready to open that restaurant? Let’s get started.
Related Reading: How I Opened a Restaurant with No Money and a 540 Credit Score
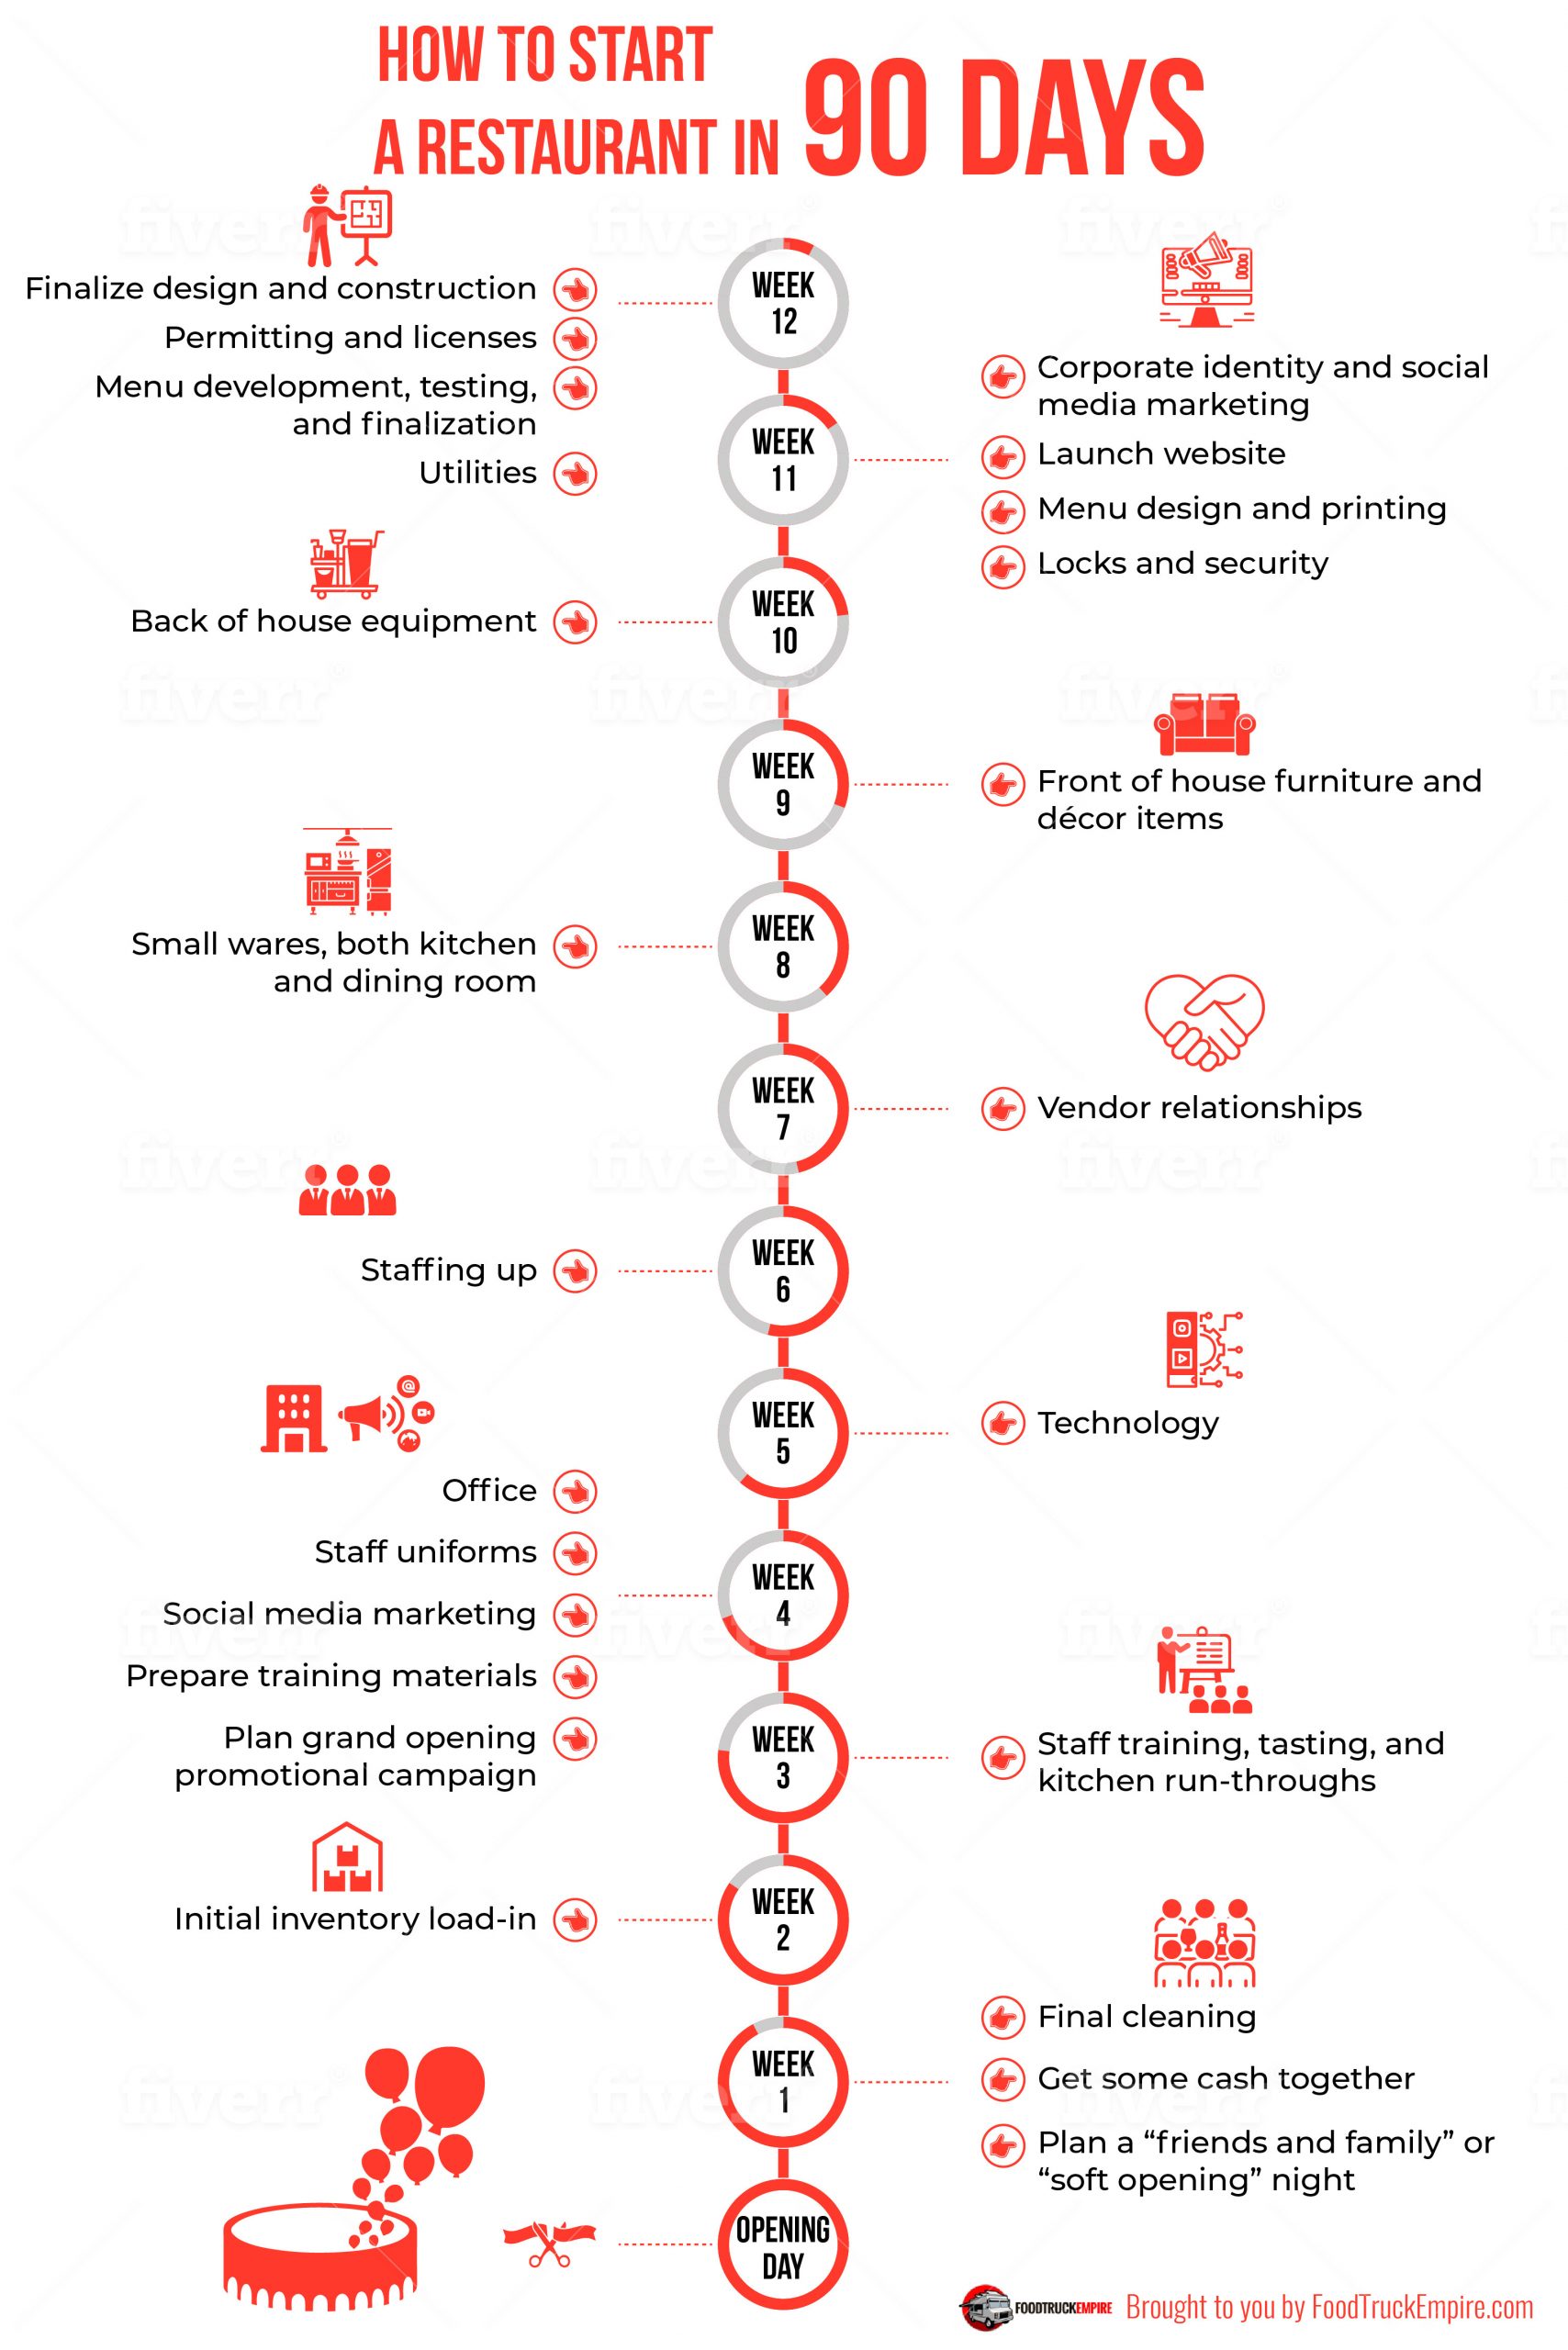
12 Week Pre-Planning Timeline – You can download this chart in PDF here.
Week 12:
Finalize design and construction. Now, we don’t necessarily mean that you have to have all of your construction and design work completed 12 weeks before opening. Goodness knows that for many of us, the last coat of paint is still being slapped up hours before the doors get unlocked.
But by the end of week 12, you should have your basic construction needs mapped out, and have contractors, electricians, and plumbers scheduled and on the books. You should know what your construction needs are, who is going to perform which jobs, and the schedule by which work will be completed.
Permitting and licenses. Now is also the time to get all of your permit applications submitted. Requirements vary from state to state (and even city to city), so schedule a phone call with your local health inspector and your local code enforcement officer, to find out about specific requirements in your municipality. You’ll want to start this process early, because permits can be hung up for months in bureaucratic black holes, and you’ll want to make sure you’re good and legal by opening day. I wrote another guide outlining the licenses and permits you’ll need here.
Most businesses will need a Business License from the state, a local/city-level Victualer’s license, and a Liquor License. Now is also the time to schedule a state health inspection, so if any issues arise, you have time to correct them before opening day.
You’ll want to make sure that, as owner of the business, you’ve completed a managerial food safety course, such as those offered by ServSafe. It’s also the right time to secure General Liability insurance for your new business, to protect you if someone gets hurt or sick, and while you’re at it, grab an Employee Identification Number from the IRS. They’re free.
Menu development, testing, and finalization. By now, you probably have a pretty good idea of the kind of food you plan to serve at your restaurant. But now is the time to translate overall concepts into specific dishes, figure out your cost for each, and establish a list of entrees for opening day.
Remember, you can make changes down the road, so try not to feel pressured…but be specific. Planning “A fusiony seafood dish” does you no good; a Wasabi-Crusted Halibut Steak with Faro Root and Sake Reduction for $22.95 tells you what you’re making, what the ingredients will be, and how much money you’ll be both spending and earning on the dish.
Utilities. This week, make sure that you have new accounts for all utilities set up and running under your new business name: Electric, water, telephone, trash removal, internet, and gas or propane.
Week 11:

Experimenting with cookies at the restaurant. 95 cents each.
Corporate identity and social media marketing. Now is the time to make sure you are completely happy with both the name of your new restaurant, and to have your final logo completed. Consult with a local designer (or find someone online) to ensure that your brand identity is professional, consistent, and can be used across a wide variety of media, from coffee mugs to promotional t-shirts to signage to websites.
Once your logo is set, establish your social media profiles: Facebook, Twitter, and Instagram are all great places to start. Set up profile pages and accounts for your new business on each of these platforms, upload your logo, and then sit tight…we’ll be working with these more later.
Launch website. This can be as simple or as elaborate as you’d like; you can either knock out the whole thing yourself on a user-friendly platform like Squarespace, or consult with a local marketing firm to build and deploy your new website for you.
The important thing is to get it done early, to provide search engines a chance to index your new site prior to opening day. After your site is launched, consider setting up profiles on a few user review sites, such as Yelp and TripAdvisor, so that your first happy customers will have somewhere to go to report their great experience.
Menu design and printing. Work with a local design studio or graphic designer on laying out your finalized menu (you DID finalize the menu last week, didn’t you?). Getting this done early will help shape the restaurant’s concept both in your mind and in future marketing, and sending them off to the printer early means you won’t have to pay premium prices for rush turnarounds.
Actually, while you’re at it, now would be a good time to put together all of your printables: Business cards, to-go menus, promotional rack cards, gift cards, and any other printed materials.
Locks and security. Whether you’re renting a turnkey commercial space, or have purchased property for your new restaurant, it’s probably a good idea to change all of the locks and deploy a new security system for your business.
In any business (but particularly in the restaurant business), keys tend to get magically copied, passed around, and misplaced. You don’t want to risk losing your new investment to the ex-boyfriend of a former server from two restaurants ago with an addiction to feed and a key to your restaurant in his sock drawer.
Week 10:
Back of house equipment. Now that your menu is finalized, you should know what your equipment needs are to prepare the dishes you want to prepare. Evaluate any existing equipment, including the ventilation and fire suppression system in your kitchen, and figure out what needs to be replaced, or which pieces you simply won’t need. Sell them.
Now, make a list of the equipment you DO need, and figure out what you can reasonably purchase used. Items like stoves, work tables, flat top grills, dish machines, and charbroilers can stand up to a lot of abuse, and can be safely purchased secondhand.
Finickier equipment, such as refrigeration units and deep fryers should probably be purchased new; these components of your kitchen make up the lifeblood of your business, and weekly visits from the repairman to keep a dinosaur of a cooler kinda-sorta working are stressors you don’t need during your first few months. Purchase your equipment, schedule delivery dates, and schedule qualified installers (either electrical or gas technicians) to hook it all up.
Download Now: Complete Startup Costs Breakdown Spreadsheet for a Small Restaurant
Week 9:
Front of house furniture and décor items. This is the week to plan your dining room design, including how many tables and chairs you can comfortably fit in the space, what kind of art you’re going to hang on the walls, potted plants, and what types of lighting you’ll employ to create the kind of atmosphere you want for your new restaurant.
Either visit a restaurant supply showroom to purchase furniture, or place online orders and schedule delivery and installation of all of your big-ticket front-of-house equipment and furniture.
Week 8:
Small wares, both kitchen and dining room. This week, focus on all of the little odds and ends you need to get both your kitchen and your dining room up and running. In the kitchen, you’ll need (at minimum): Knives, mixing bowls, spoons, rubber spatulas, colanders, strainers, prep and hotel pans in various sizes, plastic wrap and foil, and whisks, as well as small countertop appliances like mixers, food processors, blenders, steam tables, and heat lamps.
It’s easy to get carried away purchasing these items; if you’re not careful, you’ll end up purchasing every piece of equipment you could ever need to cook any item on earth. Instead, shop with your finished menu by your side, and use that to guide minimal purchases. Once you get underway, you’ll have a clearer idea of what your needs are, and shopping for equipment based strictly on your menu saves you from buying, say, that really cool (and expensive) portable tandoori oven.
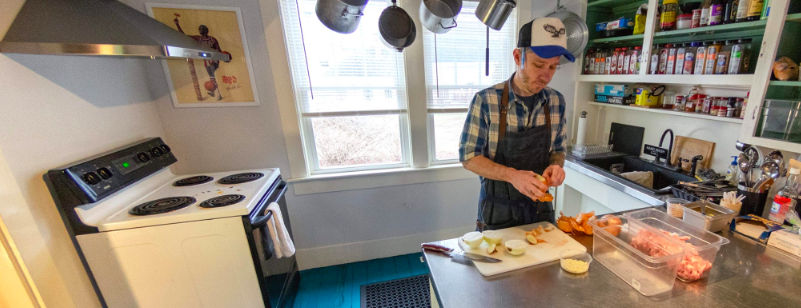
Me in the kitchen.
Now is also the time to secure everything you need for service in your dining room, including plates and bowls, silverware, napkins, tablecloths, chair cushions, bread baskets, salt and pepper shakers, little bottles of ketchup…everything you need to transport food from your kitchen, directly into the stomachs of your hungry patrons.
Don’t forget check holders, as well as pads and pens (or electronic tablets) for taking orders. You don’t necessarily need to have these items in your hands yet, but you should know who is delivering them, and when you will have them.
Week 7:
Vendor relationships. This week, focus on shaking hands with representatives from a few different vending companies. Find out their delivery schedule, ordering minimums, credit terms, and figure out where you’re going to get which products.
At minimum, you’ll probably need relationships with a liquor distributor, a beverage rep, a paper and disposables provider, a produce guy, possibly a meat and/or seafood person, and someone to deliver all of the random odds and ends you’ll need, like all purpose flour and fryer oil. Ask to see rate sheets, compare prices, and pick the vendor that most closely aligns with your budget and your values.
Week 6:
Staffing up. Now is the time to start conducting interviews for potential staff positions, starting with a general manager and chef (if, of course, you won’t be performing either of these roles yourself). Start advertising for waitstaff, line cook, and dishwasher positions in the local newspapers or websites, and begin conducting interviews and making hires.
Consult with your accounting firm about what you can reasonably afford to pay, and make sure you meet all of the legal requirements for new hires, such as worker’s compensation insurance, and tax withholding for employees and staff.
Week 5:
Technology. This week, focus on the technological needs of your new restaurant, including purchasing and installing any a/v equipment in the bar area, making sure internet signals are strong throughout, and that telephones are placed where you need them.
It’s also time to pick a point-of-sale system, and get it installed, along with all associated accessories and equipment. (For example: What happens when a customer asks for a receipt? How will credit cards be swiped? When an order is entered into the POS, will it automatically fire a ticket in the kitchen? Or will waitstaff physically run new orders back to the cooks? Now is the time to figure out how your major systems will flow, and make the technology purchases you need to ensure everything runs smoothly.)
Download Now: Food Business Model Canvas with Template
Week 4:
Office. We’ll tell you this: Week 4 is going to feel weird. You’re at this kind of awkward in-between stage where everything is starting to feel pretty ready to go, and yet, you don’t really have a trained staff or any food to sell. This is a good time to get management offices and/or employee break rooms (if applicable) set up and furnished, if for no other reason than to give you somewhere comfortable to sit and hide while your dreams catch fire and burn all around you.
We’re kidding. But you will need a desk, a comfortable chair, and a computer, as well as miscellaneous office supplies and a safe to store the piles of cash you’re going to have in just a few weeks. If your staff is lucky enough to have a break room, make sure it is similarly decked out with comfortable places to sit, calming décor, and areas to prep staff snacks or meals.
Staff uniforms. By now, you should have your staff mostly selected, so it’s time to decide how you want them dressed. Consult an online uniform supplier for some ideas, including requirements for both front and back-of-house staff. Order custom embroidery for your uniform items as needed or desired.
Social media marketing. Starting this week, we want you to be hitting your social media marketing accounts hard, with daily updates across all platforms teasing some of your menu items, construction or remodeling photos, and any pre-opening buzz you’ve received. Begin engaging in conversations with your potential customers, and start building a loyal following before you’ve served your first item.
Prepare training materials. Start figuring out how you’re going to train your staff. This can be as formal or as informal as you’d like; most smaller-scale establishments won’t need a written and printed “employee handbook,” though taking the time to produce such a document isn’t a bad idea.
Be prepared to discuss the style of service you expect from both front of house staff, as well as standards for kitchen staff. Establish policies for scheduling, time off, call-outs, sick time, and no-shows.
Plan grand opening promotional campaign. Consult with a marketing company to plan your opening-day press, including press releases, invitations to local media, and any print, television, radio, or online promotions.
Week 3:
Staff training, tasting, and kitchen run-throughs. With just three weeks to go until opening day, it’s time to train your front of house staff, as well as give your kitchen staff an opportunity to get comfortable working in their new environment.
Run waitstaff through a few sample orders, making note of any areas that may need improvement or where style and tone needs to be tweaked. (For example, does your waiter refer to customers as “y’all,” in a fine dining establishment? Or at the other end of the spectrum, are staff members placing napkins on the laps of customers in a BBQ rib joint? Make sure tone and style is consistent.)
This is also a good time to review the policies you dreamt up last week, and make sure all staff members understand your expectations. Line cooks and chefs should also cook a few menu items, and encourage front of house staff tastings.
Week 2:
Initial inventory load-in. It’s time to place your orders from your selected vendors for the initial inventory you’ll need to get the doors open. This includes specific items from your menu (chicken thighs, ancho chiles), as well as more general kitchen supplies (sugar, flour, breadcrumbs).
You’ll also need to place orders and schedule deliveries for any paper products, chemicals, cleaning supplies, and disposables, as well as starting alcohol inventory for your bar (where applicable).
Week 1:
Final cleaning. It’s almost time for the doors to open, which means it’s time for a final cleaning of both the dining room and the kitchen. Make sure everything is swept, mopped and scrubbed. Pay particular attention to the bathrooms, both staff and guest, to make sure they are spotlessly clean and stocked with supplies. Make sure all artwork is hung in the dining room, linens are clean, and tables are set to your specifications.
Get some cash together. Make sure to plan a trip to the bank; you’ll need starting petty cash to load your register drawers and make change for those first hungry customers.
Plan a “friends and family” or “soft opening” night. In the week leading up to the big day, host an invite only “friends and family” night for your new business, with limited selections from your real menu. This gives you an opportunity to not only show your appreciation for the countless number of friends and family that have been by your side through this journey, but will also give you a “dress rehearsal” of sorts to identify and iron out any kinks in service, with a group of customers that will tend to be more forgiving.
Plan for a staff meeting to be held immediately after this short, friendly service, to address any unforeseen issues or adjustments to service that need to be made. Listen, and learn from your staff; at this point, they are often much more capable of identifying potentially weak points in the system than you may be. Make adjustments as needed, and don’t be afraid to make changes to make things run more smoothly.
Opening Day:
Like marriages and funerals, at some point, all of the planning in the world isn’t going to make a bit of difference; you may think you’ve considered every scenario, and every possible outcome, but sooner or later, you just need to turn the latch, open the doors, and let the people in.
You’ve worked exceptionally hard to get to this day, and have already beaten the odds; millions of people dream of opening a restaurant someday, and you’ve already done what most of them never will.
Take a moment to take a deep breath, relax, and know that no matter what happens today (and inevitably, something WILL happen), you’ve prepared a staff that you’re confident in to handle any unforeseen bumps in the road.
For the most part, the dining public will be patient and understanding of what you’re going through, and will wish you the best of luck, provided you handle any hiccups with grace and calm. And no matter what happens, by the time the day is over, you’ll already be better at running your restaurant than you were 12 weeks ago. Good luck.
Restauranteur Life – The Road Ahead
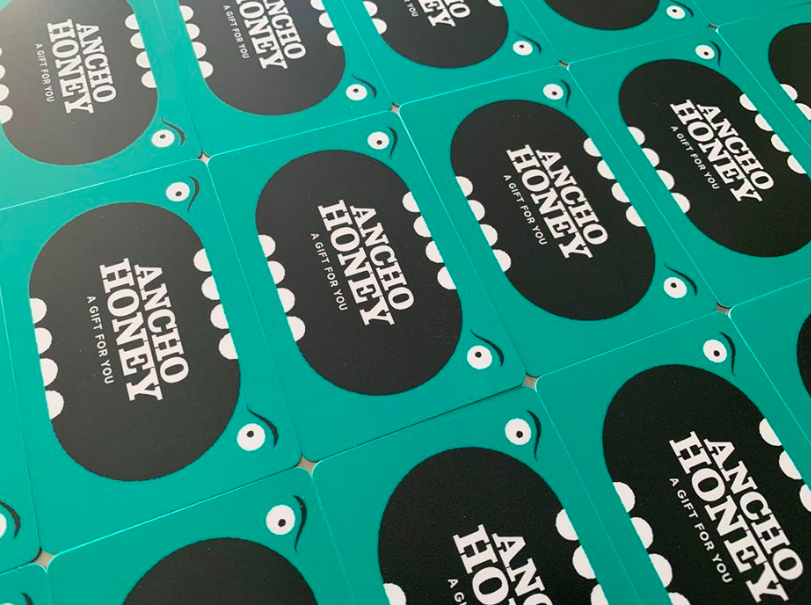
Cool photo I took of gift cards at my restaurant Ancho Honey.
Against all odds, and even, sometimes, your own expectations, you’ve done it. You’ve taken your dream restaurant concept, and put it out into the world. Your hard work was enough to convince an investor, business partner, or someone with a whole lot of faith in you or your idea, that the time is right to unleash your brand of culinary magic on an eager audience.
You’ve got a brand spanking new business bank account that’s stuffed with investor cash. You’ve picked out a name, roughed out some menu ideas, maybe even started thinking about lighting schemes for the dining room. But then it hits you: You’re just 90 days away from opening, and you’ve got a lot to do.
Related Reading: 8 Specific Ways I Saved Money Opening My Restaurant
As the owner of a small, independent new restaurant, you’ve got an incredibly long and complicated task list ahead of you, with very limited amounts of time and resources to get everything done and ready for the day you unlock the front door and let your first customers in.
And as a new business, you’re probably short on employees to whom you can delegate tasks. As with many of the challenges you’ll face as a restaurant owner, making sure that all of your t-s are crossed and all of your i-s are dotted is going to fall squarely on your shoulders. Sink or swim, it is up to you to get everything in place to ensure a successful launch.
But how do you begin to make sense of the all of the permitting, purchasing, hiring, and construction work? How do you plan what tasks to do when, to prevent the whole project from turning into a tangled mess and collapsing before you even get started? Most importantly, how do you minimize the risk of having overlooked a crucial element of service, only to realize your mistake after the doors have opened and there are customers in the dining room?
Even with this timeline you’ll encounter hurdles you may have never anticipated. When new challenges pop up and they always do, I like to add them to a check list of things to do. This frees up mental space since I know it’s not something I need to actively think about any longer. If you learn how to break gargantuan tasks into smaller and more doable pieces, you’re well on your way to becoming a successful restauranteur and business owner.


